
Quick Repair Guide: Dogs and Hardwood Floors Scratch
For a fast overview—no deep reading required—follow these ten streamlined steps before diving into the full tutorial:
- Spot the Scratch
• Light surface, medium-depth, or deep gouge? - Clean Thoroughly
• Remove dust, dirt, and pet hair; let dry completely. - Assess & Mark
• Run your fingertip and a flashlight over scratches; flag deep ones with painter’s tape. - Gather Supplies
• From microfiber cloths & cleaners to stain pens, filler, sandpaper & finish. - Buff & Color for Surface Scratches
• Rub with ultra-fine steel wool, wipe, then use a matching floor marker. - Sand & Stain Medium Scratches
• Lightly sand along the grain, clean up, stain, and let dry. - Fill & Finish Deep Gouges
• Pack with wood filler, sand flush, stain, then seal with polyurethane. - Match the Finish
• Apply a thin coat of the correct sheen (matte, satin, semi-gloss, or gloss). - Cure Time
• Keep off traffic 24 hrs; wait 48–72 hrs before moving furniture. - Blend & Touch Up
• Feather edges with fine sandpaper or adjust stain/finish for a seamless look.
Keep this guide handy for a no-nonsense repair session—then read on for detailed how-to tips, pro tricks, and prevention advice!
Do you have a dog who’s scratched up your beautiful hardwood floors?. You don’t need to worry. Those marks are not going to last forever. Most scratches can be fixed with basic tools and techniques you probably already have around the house.
Surface scratches require different treatment from deep gouges, but you will find everything you need at your local hardware store. No need to call in professionals for most damage. These are repairs any homeowner can handle.
Dogs and hardwood flooring can coexist peacefully. Follow these 10 steps to fix those pesky scratches and prevent new ones from showing up.
Step 1: Identify Your Scratch Type
Identify Your Scratch Type
Before grabbing your repair kit, figure out exactly what kind of damage you are dealing with. Each scratch type needs its own approach.
Light Surface Scratches
These barely there marks only affect the protective finish on your floor. Run your finger across them, and you will hardly feel anything. Light scratches show up as thin lines that catch the light at certain angles. Good news, these are the most common and easiest ones to fix!
Medium Depth Scratches
These types go through the finish and nick the wood itself. You can easily feel them with your fingertip, and they often look lighter than the surrounding wood. These typically show up in highly used spots or from dogs with untrimmed nails.
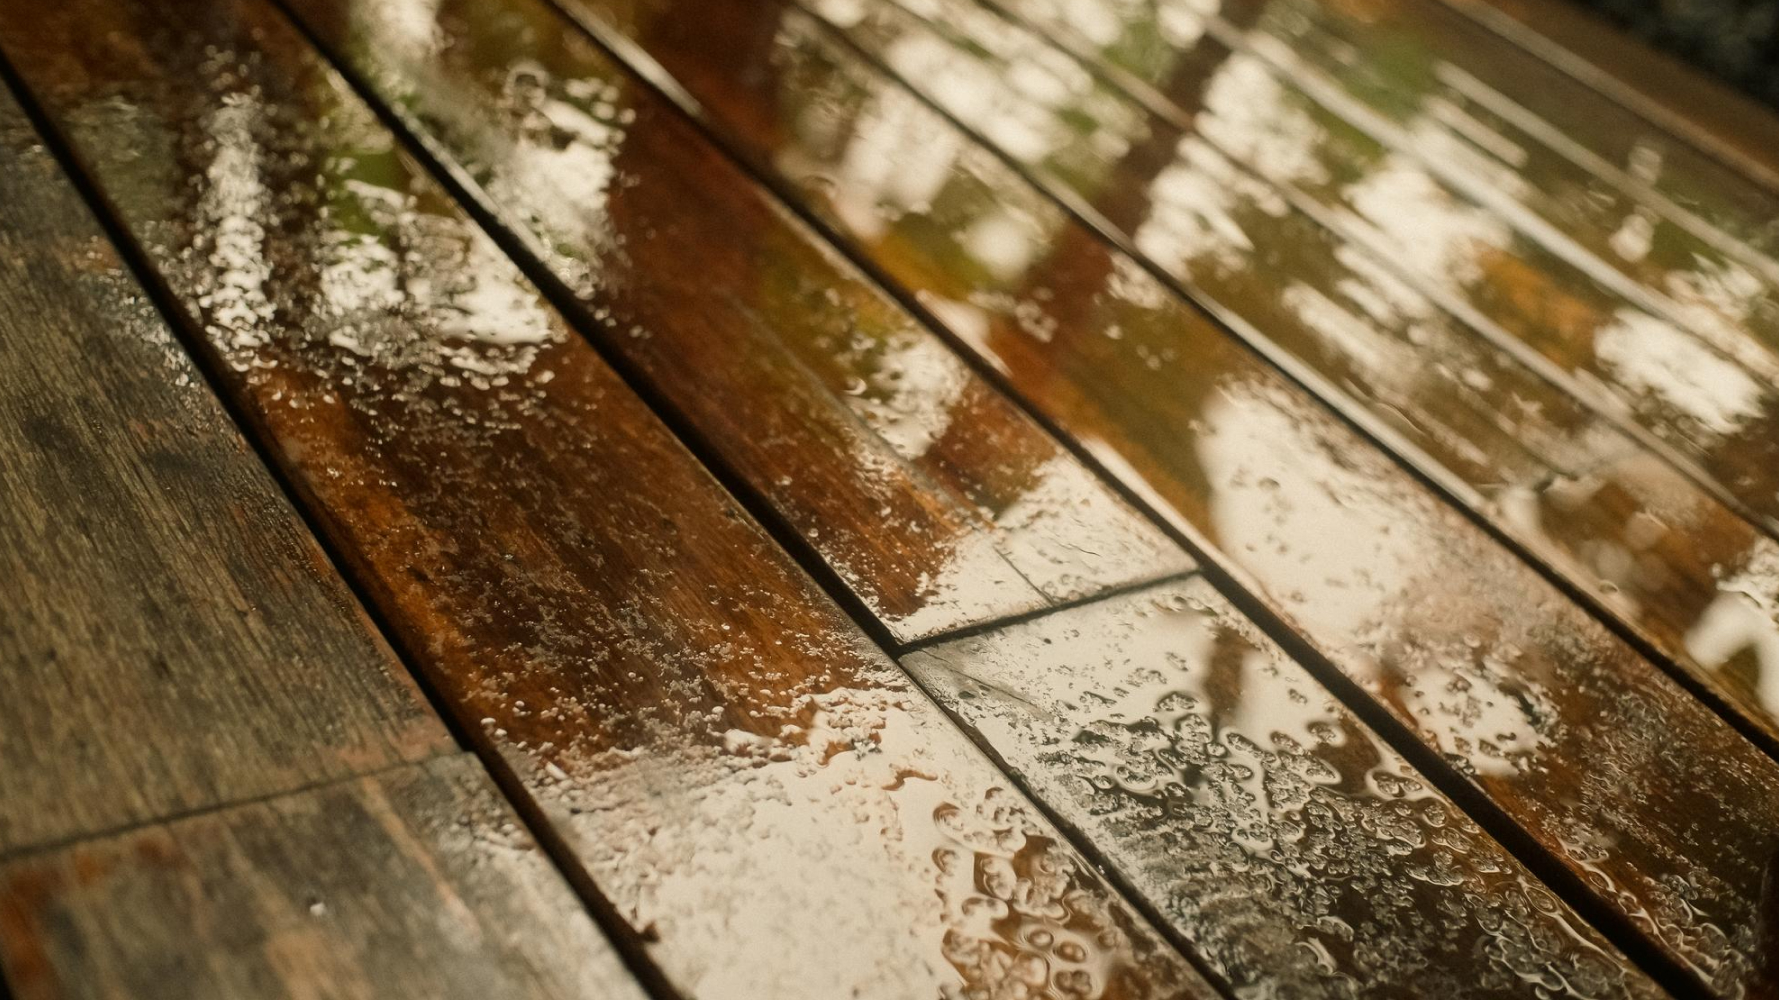
Deep Gouges and Scratches
When you can see raw, unfinished wood and your finger dips into the gouge, you are dealing with deep damage. Big dogs or heavy objects dragged across the floor often cause these more serious scratches.
The right fix depends on the scratch type. Taking the time to assess now saves you from wasting effort on ineffective repairs. Dark woods tend to show scratches more obviously than lighter varieties, so keep that in mind too.
Step 2: Clean the Damaged Area Thoroughly
Start by cleaning the scratched area properly – this makes a huge difference in how well your repairs will turn out. Grab a soft-bristled broom and sweep away any dirt or pet hair. Those tiny particles can mess up your repair job if they get mixed in. Then wipe everything down with a hardwood cleaner (just make sure it doesn’t have any wax in it). Watch out for cleaners with oils or polishes too – they’ll create a barrier that keeps your repair products from sticking. Once you’ve got a clean surface, let it dry completely. Don’t rush this part – a damp floor won’t take repairs well.
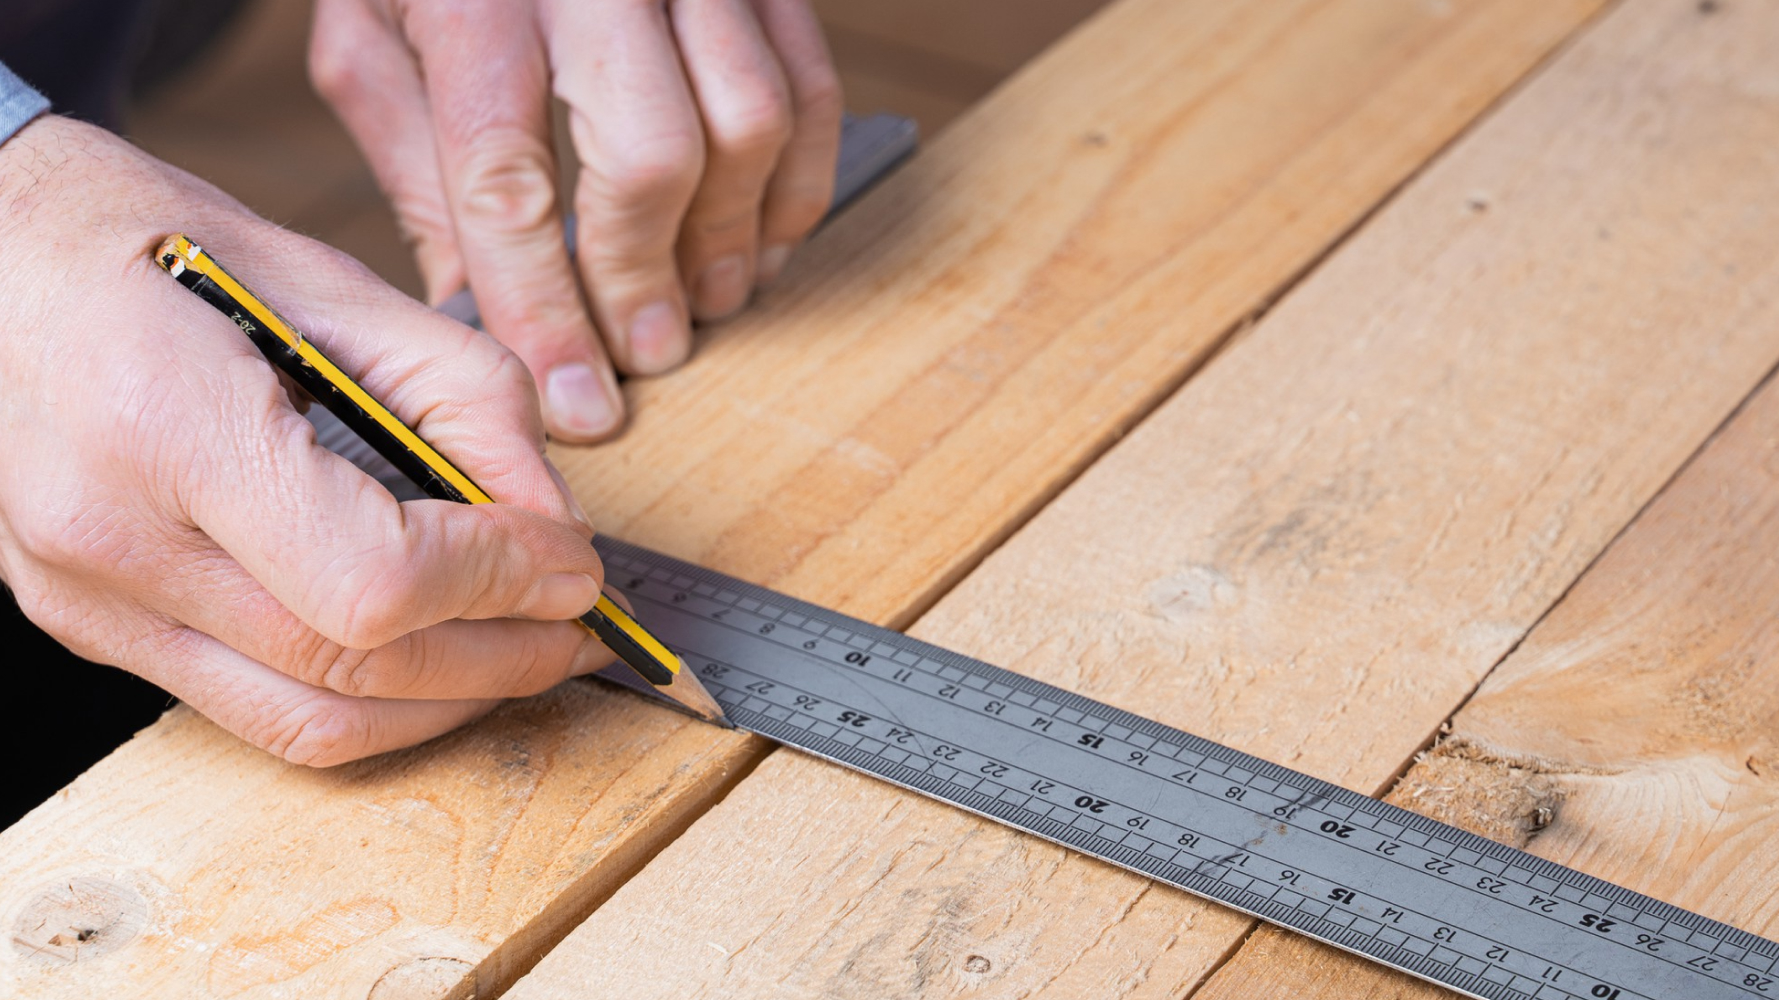
Step 3: Examine Scratches Carefully
After cleaning, take time to examine each scratch carefully:
- Run your finger over each scratch, and what you feel tells you more than what you see
- Use a flashlight held at a low angle to highlight subtle damage
- Mark deeper scratches with small pieces of painter’s tape for easy location during repairs
This detailed assessment helps you avoid using the wrong repair methods or wasting materials on scratches that need different treatment.
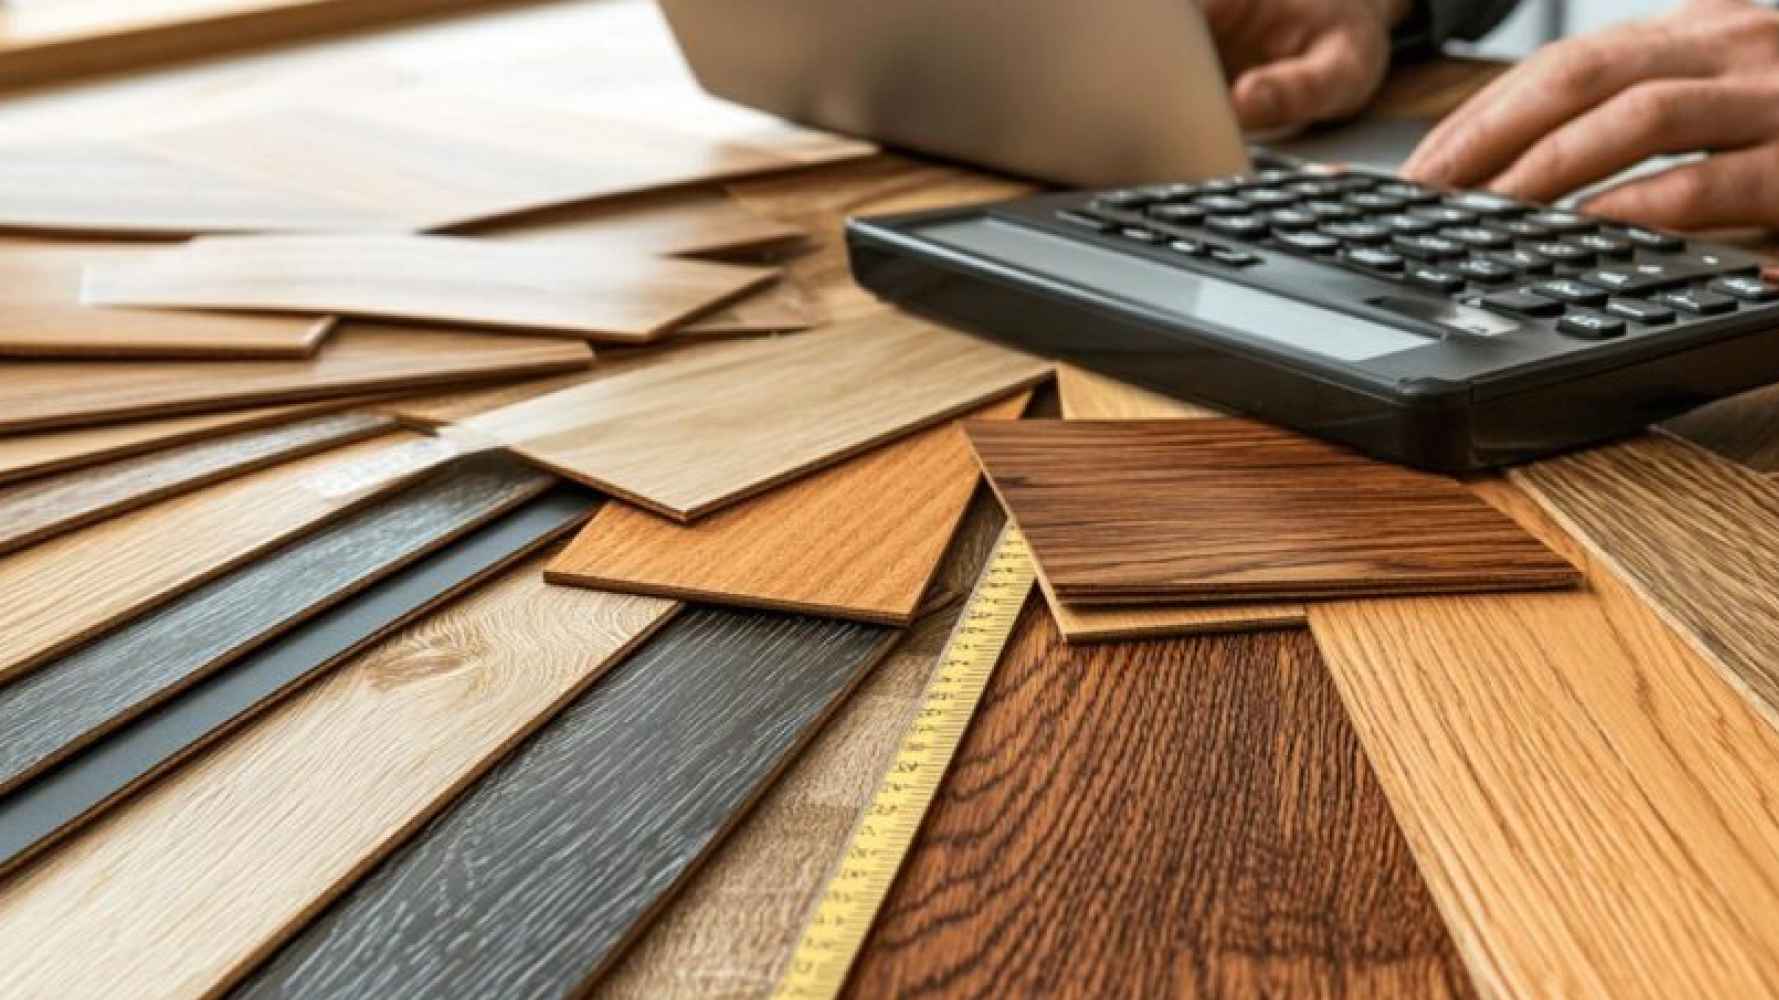
Step 4: Gather Your Repair Supplies
Having all your supplies ready before you start makes the whole process go much smoother. What you will need varies depending on how deep the scratches are.
Basic Supplies for All Repair Types
Your repair kit should include several essential items, regardless of scratch depth. You will need clean microfiber cloths for wiping surfaces and applying products without leaving lint behind. A good hardwood floor cleaner (skip anything with wax or oil) helps prepare the surface.
Materials for Light Surface Scratches
For the type of damage that hasn’t reached the wood:
- Super fine (#0000) steel wool (non-soap variety)
- Floor color markers or stain pens that match your floor color
- Hardwood floor polish
Supplies for Medium to Deep Scratches
More significant damage requires additional materials:
- Wood filler matching your floor color
- Plastic putty knife (metal can cause additional scratches)
- Fine grit sandpaper (22 grit works well)
- Clear polyurethane finish in the same sheen as your floor
- Small artist’s brush for precise application
Having everything on hand prevents interruptions that could affect your results. Before buying color-matched products, check if your floor manufacturer offers touch up kits specifically designed for their finishes.
Step 5: Repair Light Surface Scratches
- Gently buff the scratch with super-fine steel wool, following the grain.
- Wipe away dust with a tack cloth.
- Apply a matching floor marker or stain pen directly into the scratch, then immediately wipe off excess.
- Let it dry for 1–2 hours before walking on it.
Pro tip: Rub a walnut over tiny scratches on light woods—its natural oils help blend them in.
Step 6: Fix Medium-Depth Scratches
When scratches penetrate slightly into the wood:
- Sand the area gently with fine-grit sandpaper, always following the wood grain
- Remove all dust with a tack cloth
- Apply matching wood stain with a small brush, working it into the scratch
- Allow the stain to sit for 5,10 minutes, then wipe away excess
- Let the stain dry completely (at least 8 hours) before applying the finish
Be careful not to sand beyond the scratched area, as this creates uneven spots that become noticeable under certain lighting.
Step 7: Repair Deep Gouges and Scratches
For significant damage penetrating deep into the wood:
- Clean the damaged area thoroughly
- Apply wood filler with a plastic putty knife, slightly overfilling the gouge
- Allow filler to dry completely (follow the manufacturer’s recommended time)
- Sand the filled area until flush with the surrounding floor
- Apply matching wood stain to the repair
- Once dry, apply a thin coat of clear finish that matches your floor’s sheen
Deep repairs need patience. Wait 24-48 hours before returning furniture to the area so all materials can fully cure.
Step 8: Apply the Right Protective Finish
After repairs have dried completely:
- Choose a clear finish that matches your existing floor’s sheen (matte, satin, semi-gloss, or high gloss)
- Apply a thin coat using a high-quality brush or applicator pad
- Apply in the direction of the wood grain with smooth, even strokes
- Allow the first coat to dry completely before deciding if a second coat is needed
Using the wrong sheen can make repairs stand out more than the original scratches. Not sure about your floor’s finish type? Test products in an inconspicuous area first.
Step 9: Allow Proper Curing Time
- Keep foot and pet traffic off repaired areas for at least 24 hours.
- Wait 48–72 hours before repositioning furniture—use felt pads under legs to prevent new damage.
- Avoid liquid cleaners on repaired spots for a week so the finish can reach full hardness.
Step 10: Blend Repairs With the Surrounding Floor
Sometimes, even careful repairs don’t perfectly match the surrounding wood right away. When repairs look too dark compared to the original floor, try lightly sanding with extremely fine sandpaper to reduce the color intensity. If your repair appears too light, you can apply a slightly darker stain on top to deepen the tone.
For areas where the sheen doesn’t quite match, try applying the finish to a slightly wider area, creating a gradual transition that’s less noticeable to the eye.
Wrap Up
Fixing dog scratches on hardwood floors is totally doable with the right approach. Most damage can be handled without calling in professionals.
Prevention is just as important as repair. Regular nail trimming for your pup, strategic rug placement in high-traffic areas, and prompt cleaning of spills all help keep your floors in good shape. For extensive damage that seems beyond DIY capabilities, professional floor refinishers can help.
Need professional help with severely damaged floors? Rustic Wood Floor Supply’s certified hardwood floor specialists provide efficient in-home assessments and guaranteed repairs.
Schedule your consultation today: (678) 691-0533
Frequently Asked Questions
Can I use olive oil to fix minor dog scratches on hardwood?
While olive oil can temporarily mask very light scratches, it is not a permanent solution and may attract dirt. For lasting repairs, use products specifically designed for hardwood floor scratch repair that include proper sealants.
How often should I refinish hardwood floors in homes with dogs?
Most hardwood floors in homes with dogs benefit from refinishing every 3,5 years, depending on dog size, activity level, and floor traffic. Watch for widespread scratch patterns, dullness, or gray discoloration as signs that it is time to refinish.
Are some hardwood species more resistant to dog scratches?
Yes, hardwoods with higher Janka hardness ratings like Brazilian walnut, hickory, and white oak resist scratches better than softer woods like pine or cherry. Engineered hardwood with aluminum oxide finishes also provides superior scratch resistance.
Author Profile
- I have worked in hardwood flooring for the last 8 years. Use to run a company of residential crews as well as a company with gym flooring. If you need floor installation or refinishing help, I should have an answer or at least get you in the right direction.
Latest entries
 Hardwood FlooringFebruary 27, 2026Benefits of Engineered Wood Flooring
 Hardwood FlooringFebruary 26, 2026Guide on Average Length of Hardwood Flooring
 Hardwood FlooringFebruary 24, 2026Laminate vs Solid Hardwood Flooring: Comparison Guide
 Hardwood FlooringFebruary 20, 2026Engineered Vs. Hardwood Flooring – Comparison Guide


