
Ripping up old carpet reveals a nasty surprise underneath. Hardwood floors are covered in dried, crusty adhesive that won’t budge with regular mopping. That sticky mess is not only ugly, it traps dirt, dulls the wood’s natural shine, and makes the entire room look neglected. Carpet glue, tape marks, and Floor construction adhesive all leave behind frustrating residue that seems impossible to clean. The good news is that removing these stubborn deposits doesn’t require expensive professional help or harmful chemicals. Learning how to get glue off hardwood floors restores the wood’s original beauty and brings back that warm, inviting look every home deserves.
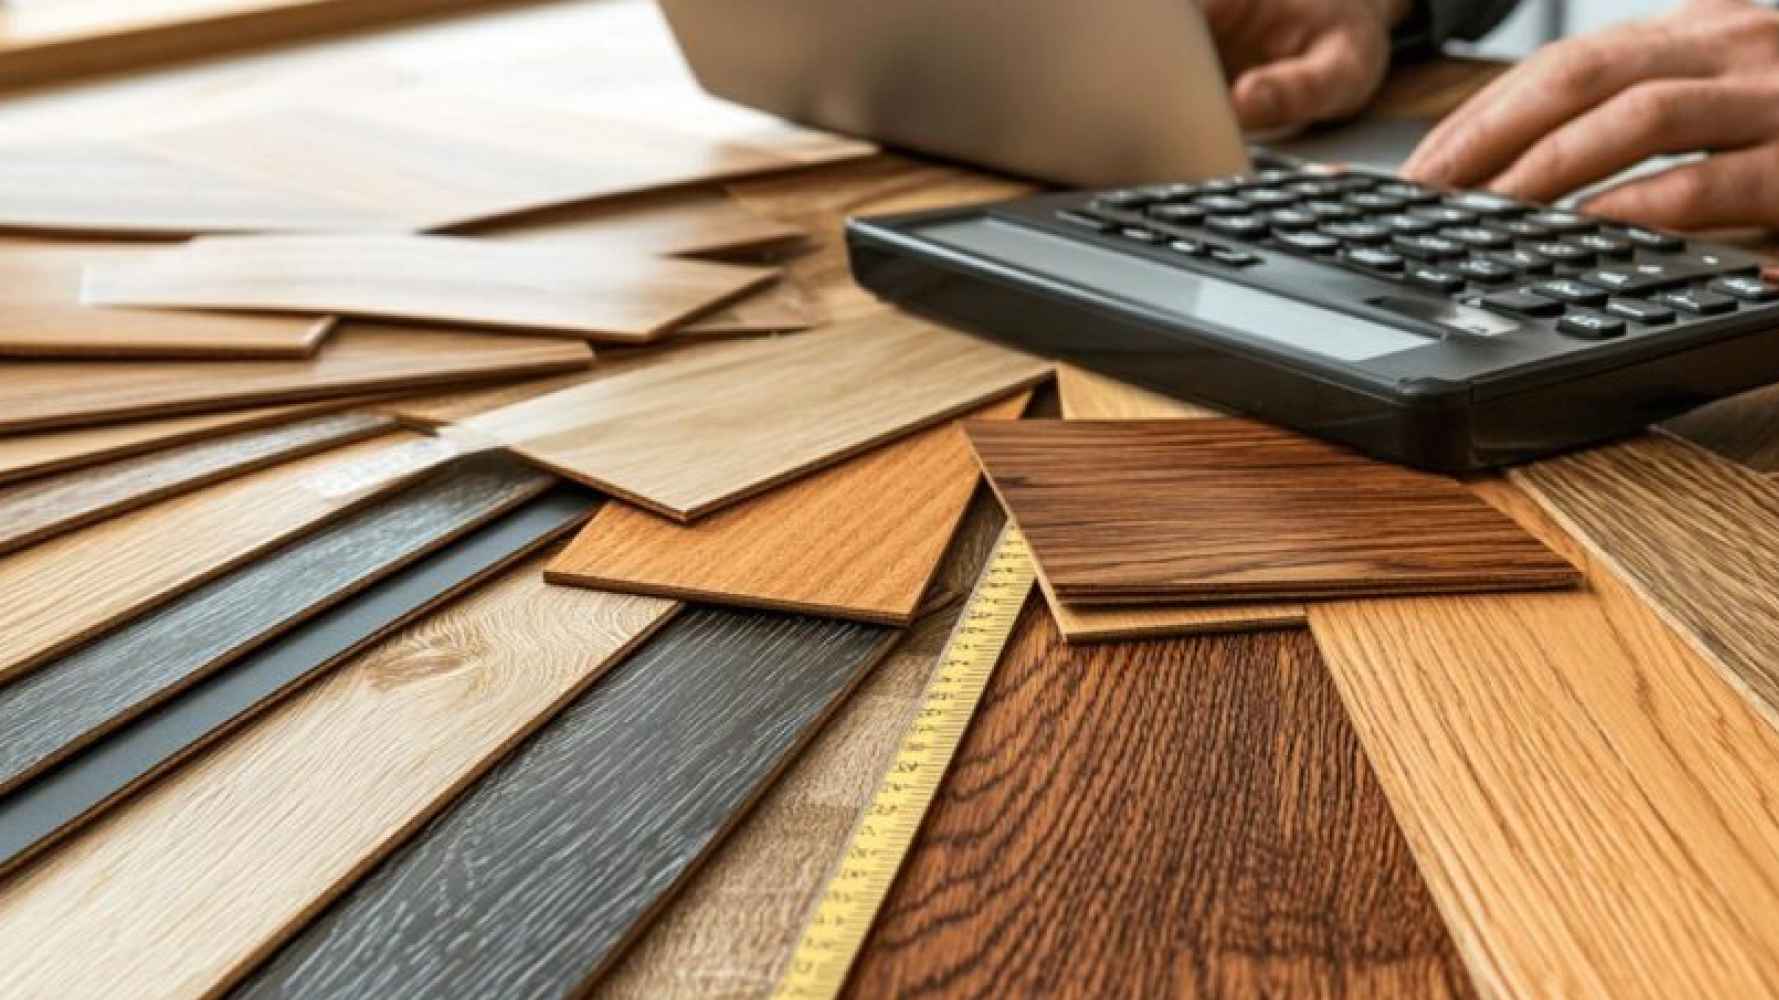
What Type of Adhesive is on Your Hardwood Floor?
Identifying the adhesive type determines which removal method works best. Different glues require different approaches for safe, effective removal.
Common adhesive types found on hardwood:
- Carpet glue: Thick, yellowed adhesive from old carpet installations
- Construction adhesive: Heavy-duty bonding agents used for subfloors
- Tape residue: Sticky marks from duct tape, masking tape, or packing tape
- Label adhesive: Gummy residue from stickers or price tags
- Floor tile adhesive: Black or brown mastic for vinyl or linoleum removal
Why Adhesive Type Matters
Water-based formulas respond to moisture and temperature changes. Solvent-based products create chemical bonds that resist traditional cleaning. Knowing which category your adhesive falls into prevents wasted effort on ineffective techniques.
Run a simple diagnostic test: dampen the glue with warm water and observe the reaction after five minutes. Softening indicates a water-based composition. No change suggests a solvent-based adhesive requiring specialized treatment.
Preparation Before Removal
Gathering the right supplies sets you up for success and protects your hardwood flooring investment.
Essential tools and supplies you’ll need:
- Plastic scraper or putty knife (never metal)
- Heavy-duty gloves and safety glasses
- Adhesive remover, household solvents
- Clean towels or rags
- Hairdryer or heat gun
- A bucket with warm water
- Floor cleaner suitable for hardwood
Pre-Cleaning Steps
Sweep and vacuum the entire work area to eliminate loose particles. A quick pass with a barely damp mop picks up fine dust that vacuuming misses. Complete drying before starting adhesive work prevents moisture-related complications.
Testing in Hidden Areas
Select an inconspicuous location like a closet corner or area beneath a heavy appliance. Apply your chosen product and monitor for adverse reactions for over ten minutes. Discoloration, cloudiness, or finish softening signals incompatibility with your floor’s protective coating.
Rustic Wood Floor Supply carries professional-grade cleaning products and wood-safe adhesive removers. Our specialized formulas tackle tough glue while preserving your floor’s protective finish and natural beauty.
Call Us and [Shop Floor Care Products: (678) 691-0533]
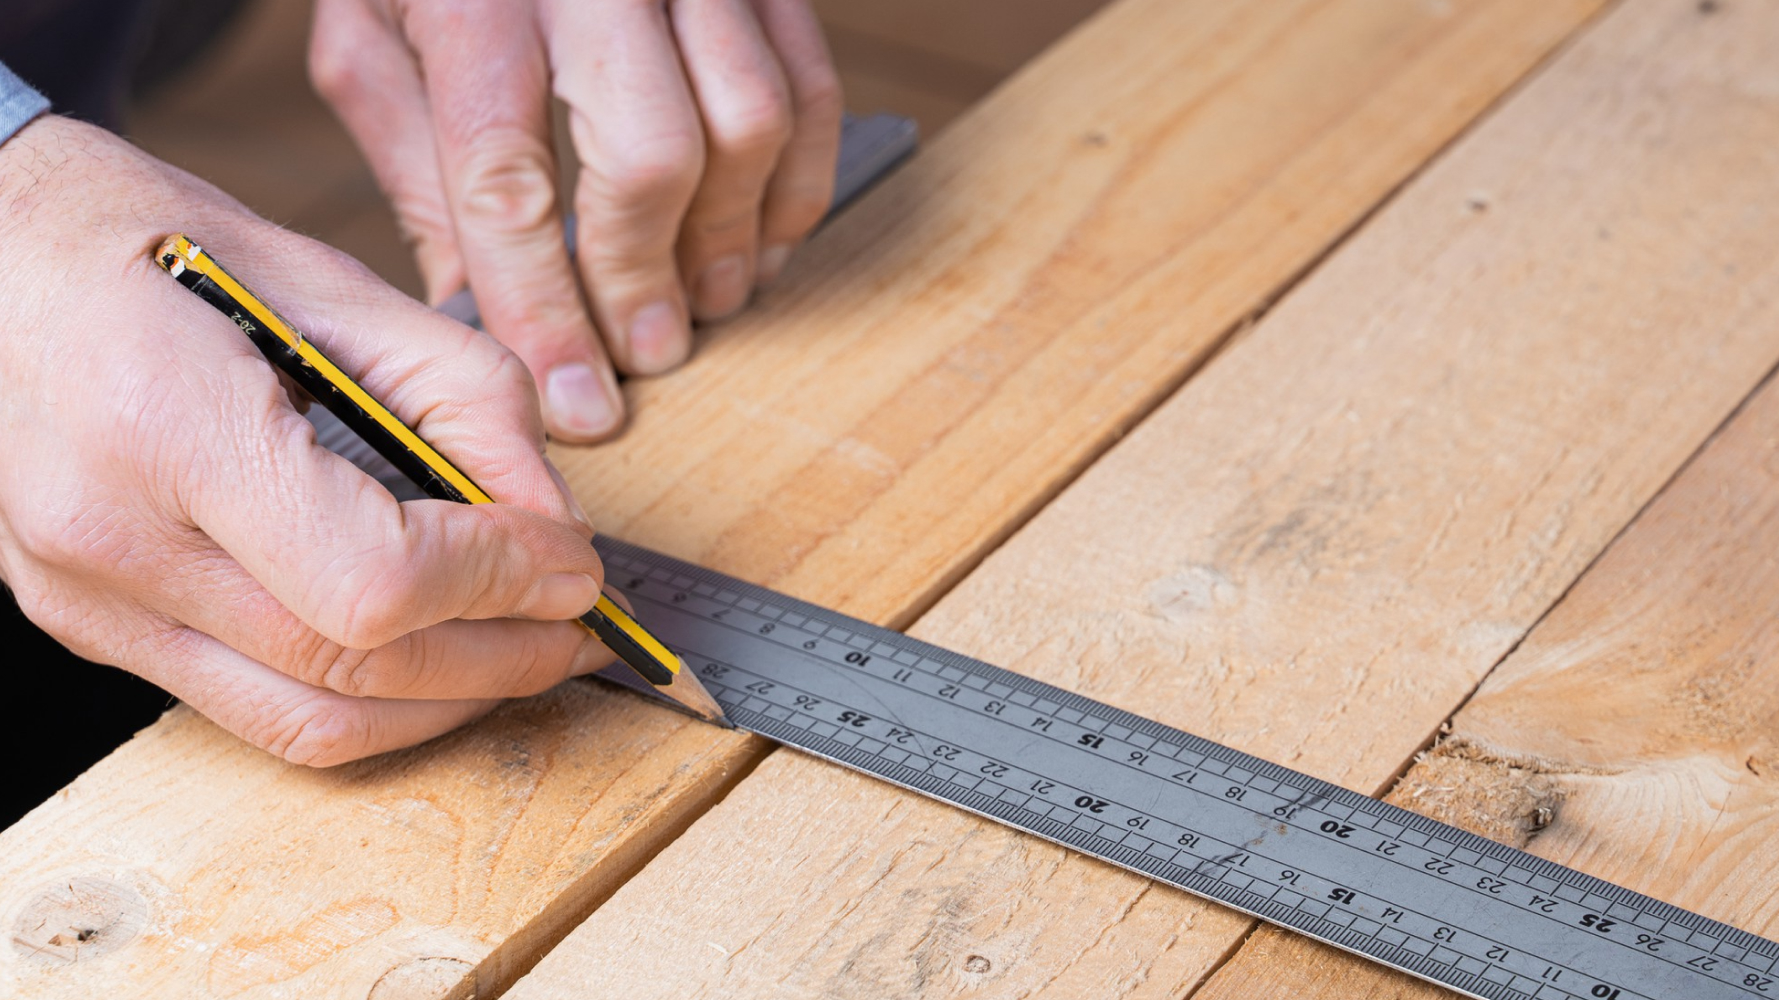
Manual Removal Techniques
Physical methods provide control and precision when dealing with adhesive deposits.
Using Plastic Scrapers and Putty Knives
Position your tool at a 45-degree angle and apply steady forward pressure. The angle creates leverage without excessive force that risks surface damage.
Proper Scraping Direction
Divide your workspace into manageable 12-inch squares. Following wood grain patterns minimizes visible marks and preserves the floor’s natural texture. Cross-grain scraping creates scratches that catch and reflect light unfavorably.
Softening Adhesive First
A hairdryer set to medium generates sufficient warmth for most residential adhesives. Maintain six inches of distance and continuous circular motion for optimal heat distribution. The glue transitions from rigid to pliable within 30-60 seconds.
Important tips for stubborn spots:
- Short heating intervals prevent thermal stress to wood fibers
- Slightly cooled adhesive scrapes more cleanly than molten material
- Clean your blade edge after every few passes
- Fresh scraper edges cut through buildup more efficiently
Chemical and Household Solutions
Solvents break down molecular structures that mechanical force alone cannot overcome. Research by UL found that 80% of today’s wood finishes emit some level of toxic VOCs, emphasizing the importance of choosing safe chemical products for adhesive removal.
Safe Chemical Adhesive Removers for Wood Floors
Citrus-based formulations combine effectiveness with a pleasant aroma for residential applications. Mineral spirits provide industrial strength for commercial-grade adhesives. Label verification ensures compatibility with polyurethane, wax, or oil finishes.
Safety Precautions
Critical protective measures:
- Cross-ventilation through opposing windows creates optimal airflow
- Nitrile gloves resist chemical penetration better than latex
- Distance from pilot lights and appliances prevents ignition hazards
- Individual products contain unique compounds requiring isolated use
- Manufacturer warnings address specific risks and handling requirements
Application Steps
Systematic removal process:
- Saturate the adhesive zone using a dedicated application cloth
- Observe the recommended dwell time, allowing chemical penetration
- Employ plastic scrapers for loosened material extraction
- Immediate cleanup with moistened cloths prevents residue spreading
- Thorough drying eliminates slippery surfaces and odors
- Additional treatments target the remaining stubborn sections
Post-Application Cleanup
Dish soap emulsifies chemical traces that water alone cannot remove. A mild solution followed by clear water rinses ensures complete neutralization. Wet floors develop slippery films and potential finish damage without proper drying.
Household Remedies
Pantry staples offer surprising effectiveness for everyday adhesive challenges.
Vinegar Solution
Acetic acid naturally degrades many adhesive formulations. Warm vinegar applied via a soaked cloth requires 5-10 minutes of contact time. The gentle acidic action works particularly well on water-based glues without harsh fumes.
Oil-Based Method
Vegetable or olive oil penetrates adhesive structures, causing molecular breakdown. Fifteen-minute soaking periods allow oil molecules to fully infiltrate sticky deposits. Subsequent dish soap application cuts through oily residue, preventing dirt accumulation.
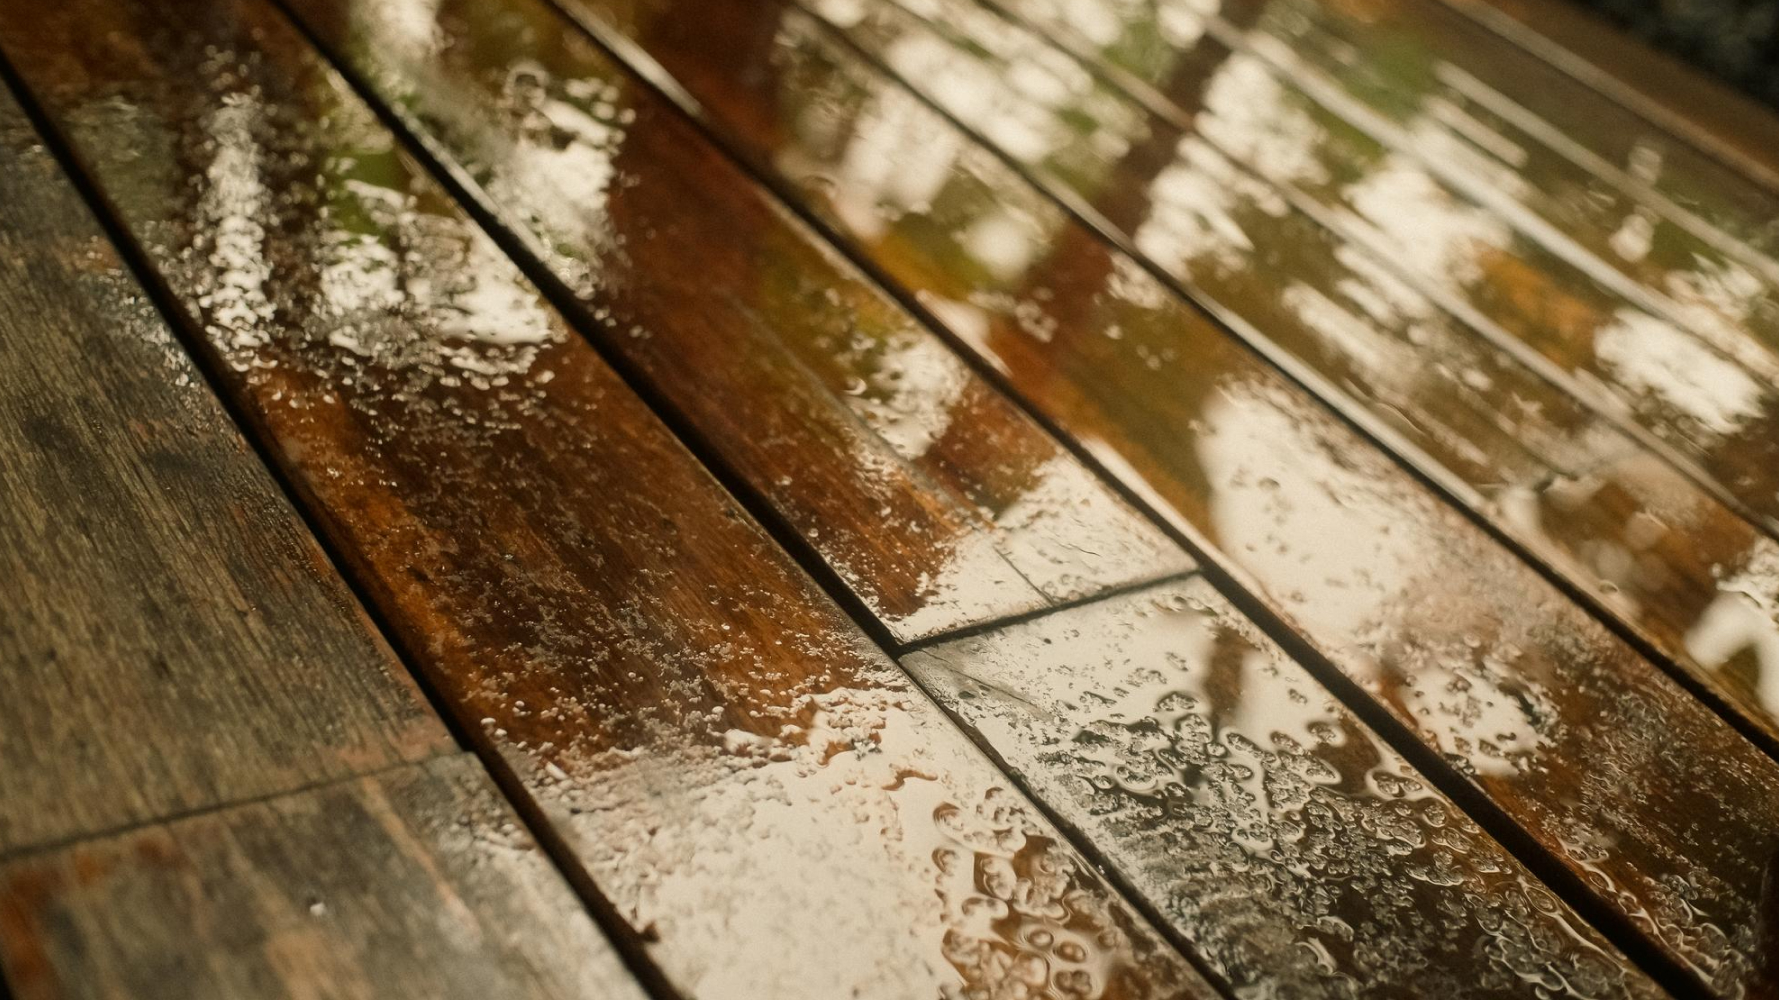
Hot Water Technique
Near-boiling water transfers heat energy directly through towel fibers to the adhesive below. Ten-minute applications soften glue without chemical intervention. Quick scraping during the warm phase maximizes removal before re-hardening occurs.
Commercial Wipes
Pre-moistened products combine gentle solvents with convenient application formats. Circular rubbing motions gradually dissolve fresh deposits. These excel for immediate cleanup rather than aged adhesive layers.
These methods work best on:
- Recent tape marks
- Label residue
- Light carpet pad adhesive
- Small affected areas
Heat Methods for Adhesive Removal
Thermal energy disrupts adhesive molecular bonds without chemical additives.
Step-by-step heat application process:
- Begin with the hairdryer on medium settings or the heat gun at the minimum temperature. Maintain 4-6 inches of separation between the nozzle and the flooring
- Continuous circular sweeps distribute warmth evenly for 30-60 seconds
- Test softness with gentle scraper pressure before full removal
- Remove material during the warm phase when consistency is optimal
- Reheat sections that cool and re-solidify during work
Temperature Control Tips
Stationary heat concentrations cause finish blistering within seconds. Visual monitoring catches early warning signs like surface sheen changes or bubble formation. Cooling intervals between heating cycles prevent cumulative thermal damage. Any burning odor demands immediate cessation and reassessment.
Best Applications for Heat
Thermal methods excel with:
- Aged carpet installations
- Tile underlayment mastics
- Heavy construction bonding agents
- Thick multi-layer accumulations
Extensive coverage areas benefit from multiple session approaches rather than marathon removal attempts. Strategic pacing maintains consistent quality across the entire project.
Final Cleanup and Floor Protection
Restoration completes the process and ensures lasting results.
Removing Remaining Residue
Trace amounts frequently persist after primary removal efforts. Mineral spirits on soft cloths dissolve final sticky particles through gentle circular buffing. Immediate follow-up with a damp cloth neutralization prevents solvent accumulation.
Complete Area Cleaning
Hardwood-specific cleaners formulated for your finish type restore uniform appearance. Proper dilution ratios prevent over-concentration that leaves dulling films. Rinsing requirements vary by product formulation, so always consult usage instructions.
Proper Drying Time
Thirty-minute air circulation allows complete moisture evaporation before traffic resumes. Premature furniture placement traps dampness, causing white hazing or finish separation. Adequate ventilation accelerates drying while preventing humidity-related complications.
Damage Inspection
Bright lighting reveals subtle finish irregularities requiring attention:
- Matte patches where the protective coating thinned
- Fine score marks from excessive scraping pressure
- Color variations from chemical reactions
- Texture changes indicating wood fiber disturbance
The hardwood polish restores minor finish imperfections when applied per the manufacturer’s specifications.
Tips for Avoiding Damage
Strategic approaches prevent common mistakes that compromise flooring integrity.
Errors that damage floors:
- Metal implements gouge even the hardest,t wood species
- Excessive chemical use can seep into board seams and cause swelling
- Prolonged heat exposure can blister polyurethane topcoats
- Abrasive scrubbing dulls the sheen and wears protective layers
- Product combinations create unpredictable reactions
- Untested materials risk the entire visible surface area
Each oversight transforms straightforward maintenance into costly professional intervention.
Best practices for preserving your finish:
- Escalate treatment intensity only after gentler options prove insufficient
- Minimal moisture application with prompt removal prevents water damage
- Chemical pooling or extended contact times compromise finish bonds
- Light-colored fabrics reveal progress without hiding problems
- Immediate cessation upon first signs of damage limits affected areas
When to Call Professionals
Situations requiring expert help:
- Extensive square footage exceeds DIY project scope
- Multiple adhesive varieties demand specialized approaches
- Unsuccessful initial attempts suggest professional equipment needs
- Pre-existing finish damage complicates safe removal
- Unknown wood species or finish types risk improper treatment
- Decades-old installations create unusual removal challenges
Professional services cost less than whole-floor refinishing necessitated by DIY mishaps.
Final Call
Successfully removing adhesive from hardwood floors combines knowledge, patience, and proper technique. Beginning with gentle approaches and advancing only as necessary protects your flooring investment. If confronting carpet glue, tape marks, or construction adhesive, systematic methods deliver excellent outcomes. Product testing, appropriate tools, and careful execution preserve beautiful wood finishes. Mastering how to get glue off hardwood floors equips homeowners with the skills to maintain their floors’ natural elegance confidently.
At Rustic Wood Floor Supply, we know hardwood floors are major investments that need proper care. Our range of floor care and maintenance products helps homeowners and contractors protect and restore wood surfaces. From wood-safe adhesive removers to professional-grade cleaners, finishes, and restoration supplies, we provide the right products to keep floors in top condition.
Contact Us For Explore Our Flooring Solutions: (678) 691-0533
Frequently Asked Questions
What is the safest way to remove old adhesive from hardwood?
Yes, the safest approach progresses incrementally. Begin with plastic scrapers and warm water. Advance to hairdryer heat if initial efforts prove insufficient. Reserve chemical products for persistent deposits after testing.
Are there household products that work on tough adhesives?
Yes, kitchen ingredients surprise with their effectiveness. White vinegar neutralizes water-based formulas. Cooking oils break down tape gumminess. Isopropyl alcohol tackles certain construction adhesives without specialized chemicals.
How can I avoid damaging my floor during glue removal?
Yes, damage prevention demands careful execution. Plastic-only tools eliminate scratching risks. Preliminary testing identifies incompatible products. Constant heat motion prevents concentrated thermal damage. Manageable sections maintain quality control throughout.
How long does adhesive removal usually take?
Duration depends entirely on adhesive characteristics. Fresh tape marks disappear in 15-30 minutes. Standard carpet glue requires 1-3 focused hours. Industrial-strength construction adhesive demands multiple extended sessions for thorough elimination.
What if the adhesive doesn’t come off after these steps?
Resistant adhesive indicates professional intervention needs. Specialized equipment and commercial-strength solvents exceed residential product capabilities. Expert assessment determines optimal removal strategy while preventing unintended wood damage.
Author Profile
- I have worked in hardwood flooring for the last 8 years. Use to run a company of residential crews as well as a company with gym flooring. If you need floor installation or refinishing help, I should have an answer or at least get you in the right direction.
Latest entries
 FlooringJanuary 15, 2026Does New Hardwood Flooring Increase Your Home Value?
 FlooringJanuary 14, 2026Can You Refinish Engineered Hardwood?
 FlooringJanuary 10, 2026What Wood Floor Color Do I Choose?
 FlooringJanuary 9, 2026How To Prevent Hardwood Floor Moisture Problems?


